When a WordPress website keeps getting hacked, cleaning the same infection over and over may not be enough. Sometimes the real solution starts with investigating the environment around WordPress.
This guide documents a real-world troubleshooting approach to a WordPress migration after repeated security incidents on an older cPanel VPS.
The goal was not simply to move the website from one server to another. The bigger goal was to understand the existing environment, investigate possible attack surfaces, build a clean server, migrate the website carefully, and verify that everything worked correctly after the move.
When the same problem keeps coming back, don’t just fix the symptom. Investigate the environment around it.
The Situation
The website had experienced repeated hacks while running on an older cPanel-based VPS.
WordPress itself can be vulnerable through outdated plugins, themes, compromised credentials, or vulnerable code. But when security incidents keep happening, it is worth looking beyond WordPress and investigating the complete hosting environment.
Instead of assuming that the next cleanup would permanently solve the problem, the investigation started with a broader question:
Where could the attacker be getting back in?
What Should Be Investigated?
A WordPress security investigation should look at more than plugins and themes.
- WordPress core version
- Plugins and themes
- Administrator accounts
- Database users and permissions
- SSH and hosting accounts
- File permissions
- Cron jobs and scheduled tasks
- Web-server and authentication logs
- Suspicious PHP files
- DNS and Cloudflare configuration
Step 1: Investigate Before Migrating
One of the easiest mistakes during a hacked-site migration is to immediately copy everything from the old server to the new one.
That can also copy the problem.
Before migration, the existing WordPress installation should be treated as potentially untrusted until it has been investigated.
Start by reviewing the WordPress version, installed plugins, themes, administrator accounts, recently modified files, and unexpected PHP files.
Server logs can also provide useful information about authentication attempts, requests, errors, and suspicious activity.
Step 2: Check the Timeline
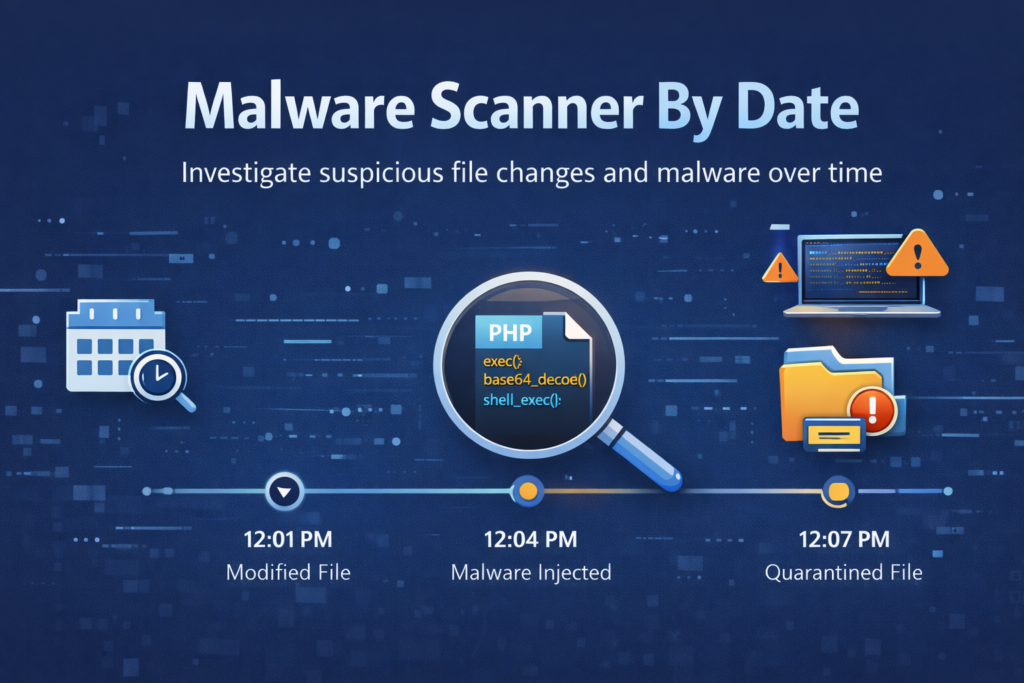
One of the most useful pieces of information during an incident is often the timeline.
If the website was working normally on Monday and suspicious redirects appeared on Wednesday, files modified during that period deserve closer attention.
This doesn’t prove that those files were responsible. It simply gives the investigation a much smaller area to examine.
Instead of asking “Which of these thousands of files is bad?” start by asking “Which files changed around the time the problem began?”
Step 3: Review WordPress Files
Pay particular attention to the areas where custom or frequently modified code normally exists.
- wp-content
- Plugins
- Themes
- Uploads
- wp-config.php
- .htaccess and server rules
Upload directories deserve special attention because unexpected executable files should not normally appear there.
The database should also be reviewed for unexpected administrator accounts, suspicious options, injected content, redirects, or other unexpected changes.
Step 4: Don’t Blindly Copy the Old Installation
A normal WordPress migration often looks like this:
Backup → Copy files → Import database → Change DNS
That workflow can work perfectly for a healthy website. A compromised website requires more care.
If malicious code exists inside the old installation, copying everything exactly as it is simply moves the infection to the new server.
Where practical, rebuild trusted components from clean sources, review plugins and themes, and only migrate the data that is actually required.
Step 5: Prepare a Clean VPS
Once the existing environment has been investigated, the next step is preparing the new server.
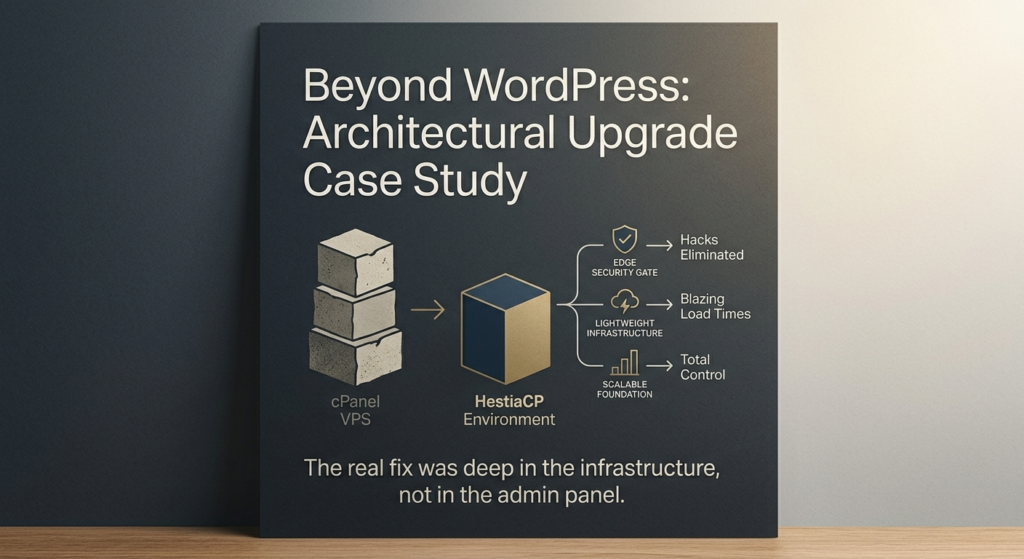
For this migration, the decision was made to move away from the existing cPanel VPS and use HestiaCP on a new VPS.
The important part wasn’t simply changing the control panel. Starting with a clean VPS created an opportunity to rebuild the hosting environment with a known baseline.
The server setup was performed directly through the Linux console.
- Fresh VPS environment
- Linux system preparation
- HestiaCP installation
- Web-server configuration
- PHP configuration
- Database configuration
Step 6: Install HestiaCP
HestiaCP provides a web-based control panel for managing websites, domains, databases, email, DNS, SSL, and other hosting components.
The installation itself can be initiated from the Linux console, but the exact command and supported configuration should always be taken from the current HestiaCP documentation rather than copied from an outdated tutorial.
# Connect to the new VPS
ssh root@SERVER_IP

# Update the operating system
apt update
apt upgrade

# Download and run the current HestiaCP installer
# Use the official installer instructions for
# the current supported version and OS.
After installation, the control panel can be used to create the required hosting account and prepare the website environment.
Step 7: Migrate the WordPress Files
With the new environment ready, the WordPress files can be moved.
This is where the earlier investigation becomes important. The goal is not necessarily to copy every file from the old server.
WordPress core files can be obtained from a clean source. Plugins and themes should be reviewed and updated. User uploads and required application data can then be migrated carefully.
Always review configuration files before placing them into the new environment.
Step 8: Migrate the Database
WordPress files are only one half of the website. The database contains posts, pages, users, settings, plugin data, and much more.
A typical migration process is:
- Export the existing database
- Create a new database
- Create a dedicated database user
- Import the database
- Configure database permissions
- Update wp-config.php
# Example database export
mysqldump -u DB_USER -p DB_NAME > backup.sql

# Example database import
mysql -u DB_USER -p DB_NAME < backup.sql
The exact database commands depend on the environment, database engine, credentials, and migration method being used.
Step 9: Configure DNS
After the website exists on the new server, traffic needs to be directed to the new VPS.
This is where DNS becomes an important part of the migration.
Review the existing DNS configuration before making changes. Do not assume that every DNS record belongs to the website.
- Root domain A/AAAA records
- www record
- Required subdomains
- MX records
- SPF records
- DKIM and DMARC
Email records deserve particular attention. Accidentally changing them during a website migration can create an entirely different problem.
Step 10: Configure Cloudflare
If the domain is using Cloudflare, the migration also requires reviewing the Cloudflare configuration.
Check that the relevant DNS records point to the new VPS and review settings such as SSL/TLS, caching, redirects, and security rules.
The important part is understanding the traffic path:
Visitor → DNS → Cloudflare → New VPS → Web Server → WordPress
Testing each layer makes troubleshooting much easier if something doesn’t work after the DNS change.
Step 11: Test Before Calling It Finished
A WordPress homepage loading successfully does not mean the migration is finished.
The website should be tested from both the WordPress and server perspectives.
- WordPress login
- Admin dashboard
- Posts and pages
- Media uploads
- Plugins and themes
- Contact forms
- HTTPS and SSL
- Database connectivity
- PHP configuration
- Server and error logs
Step 12: Secure the New Environment
Moving the website to a new server is not the end of the security work.
A fresh environment should be treated as an opportunity to remove unnecessary access and reduce the attack surface.
- Update WordPress
- Update plugins and themes
- Remove unused plugins
- Review administrator accounts
- Review SSH access
- Review file permissions
- Review firewall configuration
- Configure reliable backups
Step 13: Monitor After the Migration
DNS has changed and the website is online. That does not mean the investigation is over.
The first days after a migration are a good opportunity to monitor the new environment closely.
- Web-server logs
- Authentication attempts
- WordPress activity
- Unexpected file changes
- CPU and memory usage
- Database performance
What This Investigation Taught Me
The biggest lesson from this migration wasn’t how to move a WordPress website from cPanel to HestiaCP.
It was the importance of looking at the entire system.
WordPress sits on top of several layers:
WordPress → PHP → Web Server → VPS → DNS → Cloudflare
A problem at any one of those layers can look like a WordPress problem from the outside.
That’s why good troubleshooting isn’t always about finding the quickest fix.
Sometimes the better approach is to stop, investigate the evidence, understand the environment, and then decide what needs to change.
A Practical WordPress Incident Checklist
If a WordPress website is experiencing repeated security problems, this checklist provides a useful starting point.
- Identify when the problem started
- Review WordPress and plugin versions
- Check administrator accounts
- Review suspicious file changes
- Review server and authentication logs
- Check cron jobs and scheduled tasks
- Review database users and permissions
- Investigate the existing hosting environment
- Prepare a clean server if migration is required
- Avoid blindly copying compromised files
- Migrate and verify the database
- Configure DNS and Cloudflare carefully
- Test WordPress after migration
- Update and secure the new environment
- Monitor the website after going live
Final Thoughts
A repeated WordPress hack can be frustrating, especially when the same cleanup process keeps having to be repeated.
But an incident can also be an opportunity to understand the environment more deeply.
In this case, the migration became more than a hosting change. It became an exercise in investigation, Linux administration, WordPress troubleshooting, database management, DNS, Cloudflare, and server configuration.
The result was a clean starting point and a better understanding of how the different parts of a WordPress environment fit together.
Don’t just ask: “How do I fix this WordPress website?” Ask: “Why did this happen, and what can I learn from the environment?”
A Note on HestiaCP
HestiaCP was used for the new hosting environment because it provides a practical control panel for managing websites, databases, DNS, SSL, and other hosting components without requiring everything to be managed manually from the command line.
The VPS installation and configuration were still handled through the Linux console, which provided a useful opportunity to work directly with the server rather than relying entirely on a graphical interface.
And credit where it is due: Strettch Cloud made the VPS side of the process straightforward to work with.
The Main Takeaway
When WordPress keeps breaking, don’t stop at WordPress. Investigate the files, database, server, DNS, access, and the environment around the website.